🫧 Poiyomi Features
Emissions
Emissions (Special FX>Emission #) control the “glow” effect commonly used in avatars. Each emission section can control a channel that we specified in the emission mask. As you can see, the Emission 0 slot controls the RED slot of the emission mask. If you have any custom emissions, you would use the other emission slots and use the other channels from the emission mask.
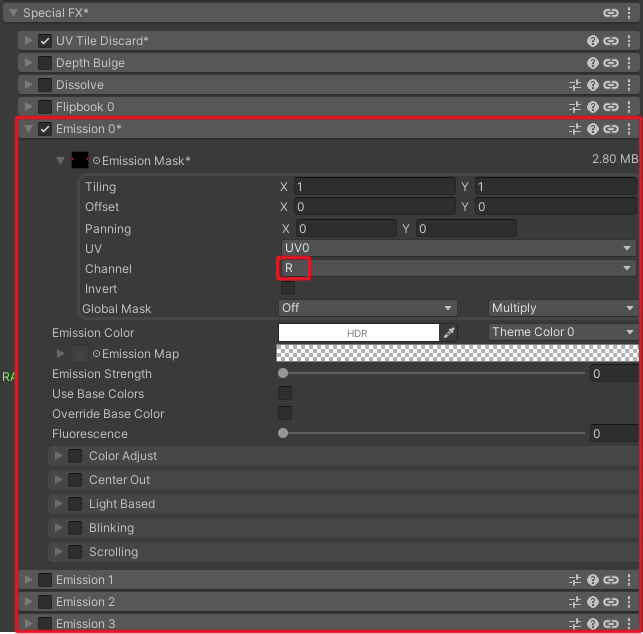
If you need to change the color for any of the emission slots, here’s a bit of a guide to what each one is.
Body
- Emission 0= Rage mode glow
Head
- Emission 0= Rage mode glow
- Emission 1= Eyes
If you want custom colors for the rage glow, make sure you change the emission color both on the FACE and BODY so that they match. Again, Make sure the material is LOCKED before testing.
Global Themes
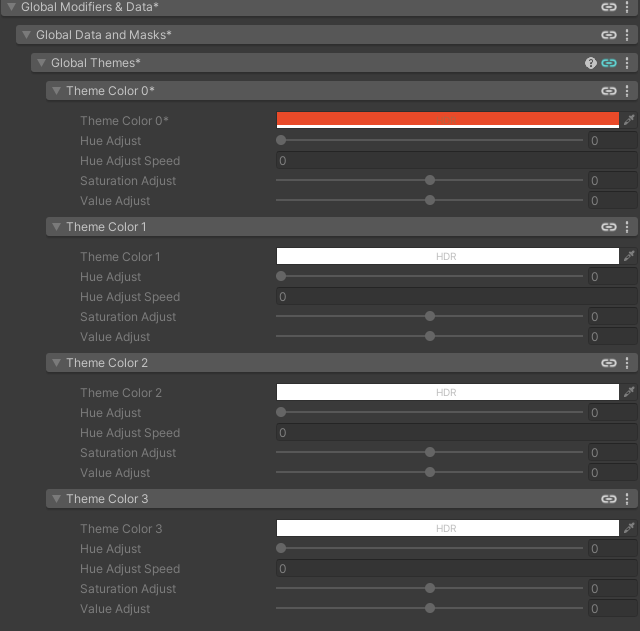
Opening this option shows you multiple theme colors. I use Global theme 0 for the rage mode color, this way, because this section is linked for both the body and head, you’ll only need to change it on one of the materials for it to change the other.
Reflections and Specular
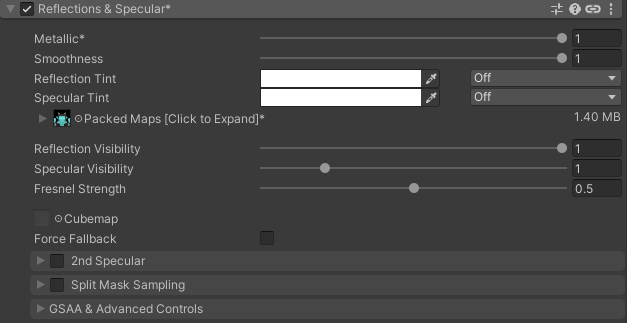
This is what controls how shiny, metallic or reflective a surface is. The “Packed” map uses the RGBA channels of the texture to control the Metallic, Smoothness, Reflection and Specular Level values of the texture.
Matcap
For this specific avatar, I use a matcap for the Hair and the fur.
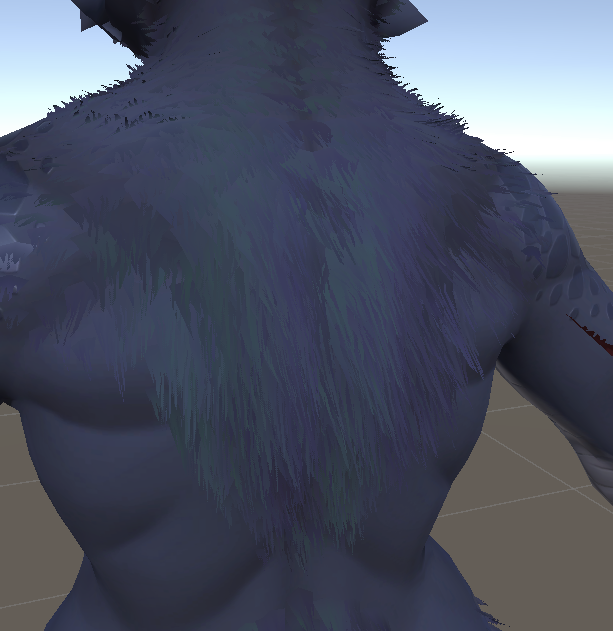
You can change the color of the fur’s iridescence in the Matcap 0 section. Remember to change it for both the Head and Body materials!
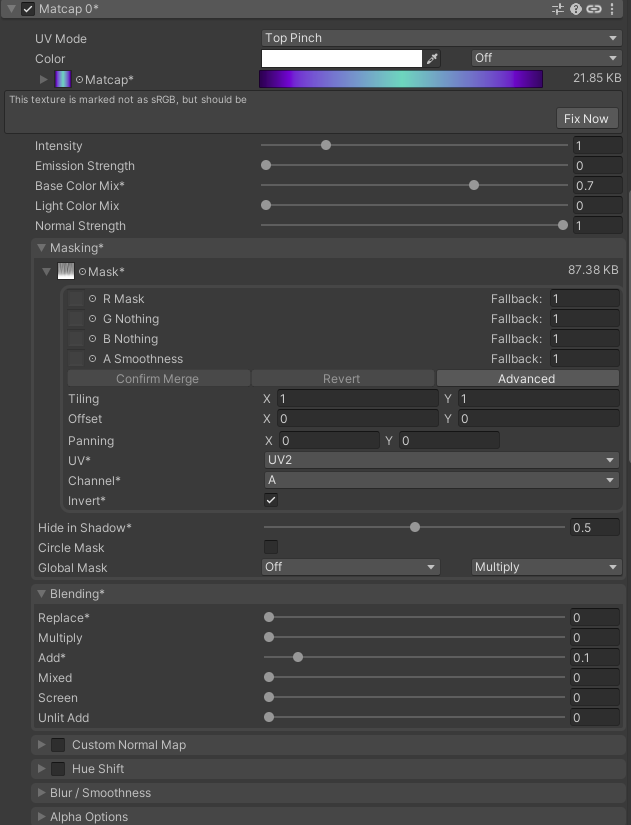
It uses the inverted fur texture to get a gradient from the tip of the fur tufts to the root, so that only the fur tips are affected. This is used in conjunction with a second UV map where the fur is laid out vertically.
UV map slots
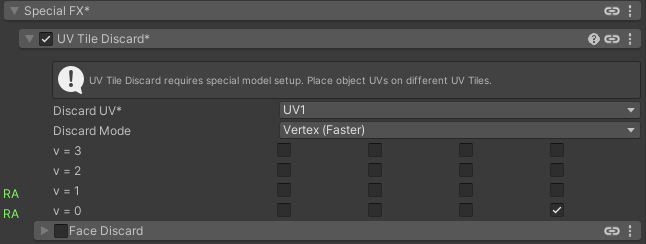
Did you know models can have more than one UV map? The first one in this avatar is used for textures. The second is for the UV tile discard function. This way, we don’t have to mess up the original UV map to make use of the UV discard function. The third one is used for fluff, the 4rth one is also fluff, but sorted and stacked for organization and backup purposes.
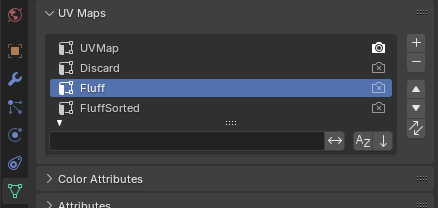
UV Tile Discard (Advanced)
I know this might seem complicated, but you won’t need to bother with this unless you’re modifying the model.
This feature allows us to hide or show certain parts of the model based on which UV tile it’s located in. That’s right, you can put things outside the main UV grid. Blender can let you show this repeating UV grid in the top right.
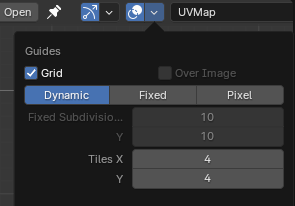
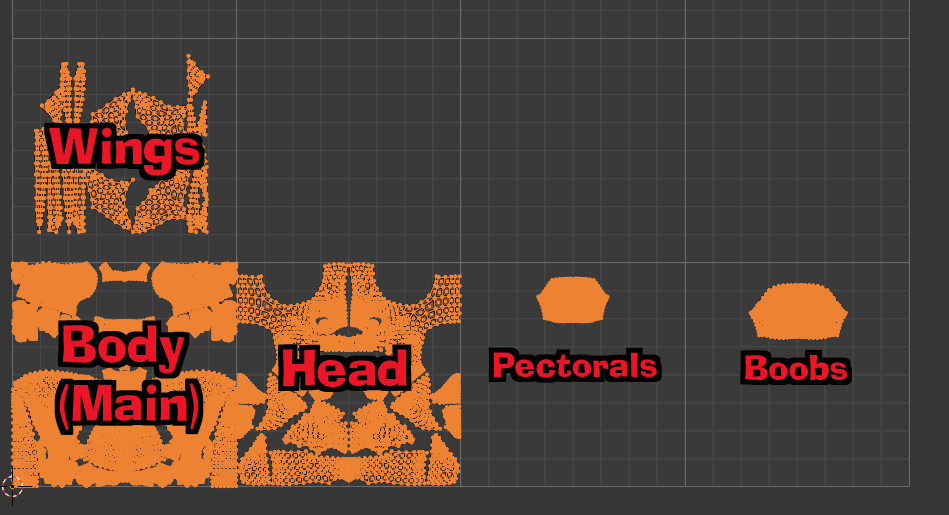
It’s unlikely that you’ll have to mess with these for this project, but I’m providing the information regardless.
In Poiyomi, each tile has 2 numbers: one for the row and one for the column. Bottom left, or “body”, is 0,0. “Head” is 0,1, “Wings” is 1,0, and so on. Here’s a bit of a visual on what the toggles look like:
Success
For more info about this avatar's features, you can move to ℹ️ Avatar Features