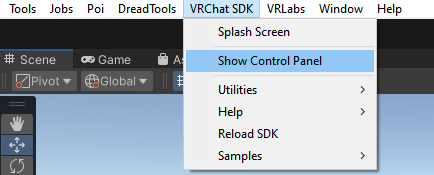
From this point, you should be ready to upload. If you’re happy with how this looks, go to the VRChat SDK drop down menu and click “Show Control Panel”.
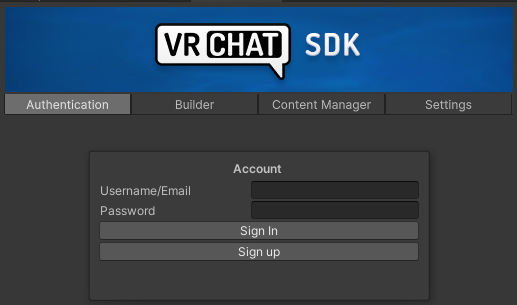
You need to login first, otherwise you won’t be able to upload.
Warning
You also need enough playtime to have access to uploading avatars. Keep playing and make friends! Very quickly, you should receive an Email from VRChat informing you that you're allowed to upload your own worlds and avatars.
Go to the “Builder” section and fill out the required info. Make sure you select the avatar you want to upload using the drop-down menu.
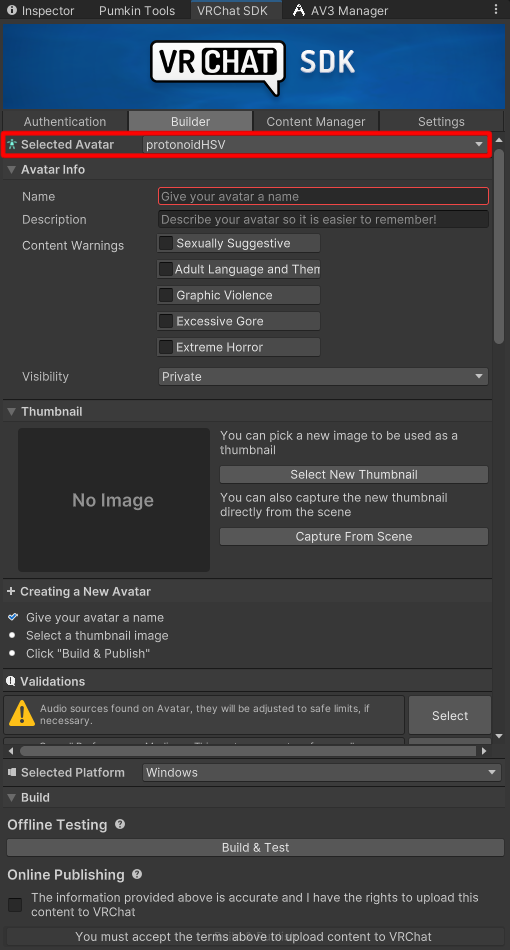
Once you’re done, click “The information provided is accurate and I have the rights to upload this content to VRChat” to be able to see the “Build & Publish” button, and click it.

If it’s still grayed out, and you know that you have enough playtime to upload avatars, there might be some errors you’ll need to take care of. If even one avatar in your scene has something like streaming mipmaps disabled, it will show you a red error above the “overall performance” listing when you click it in this list and it won’t let you upload. There could be many things that keep you from uploading, like a version mismatch, or a conflict between shaders, or even the VRC servers being down. If the issue isn’t shown in the SDK warning section, It helps to look at the “Console” tab, next to the “Project” tab.
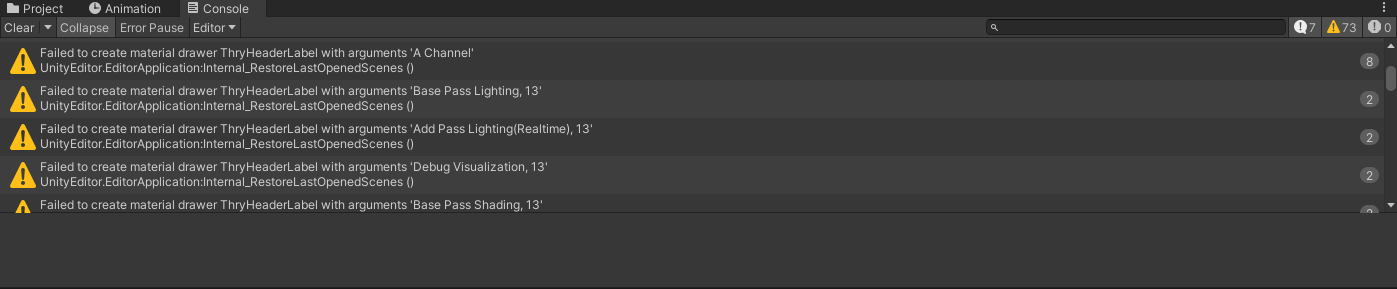
Looking at this might be confusing, but any red errors might point you towards the culprit. I can’t debug every single possible reason for not being able to upload, but searching online for what red errors say might point you in the right direction.
Locking in your preferred settings
Are you tired of having to customize all your settings again when your avatar gets reset? You can adjust the default value of each parameter by looking at the parameters file. The location of this file differs between avatars, but is usually found in the same folder as the radial menus and FX layers.
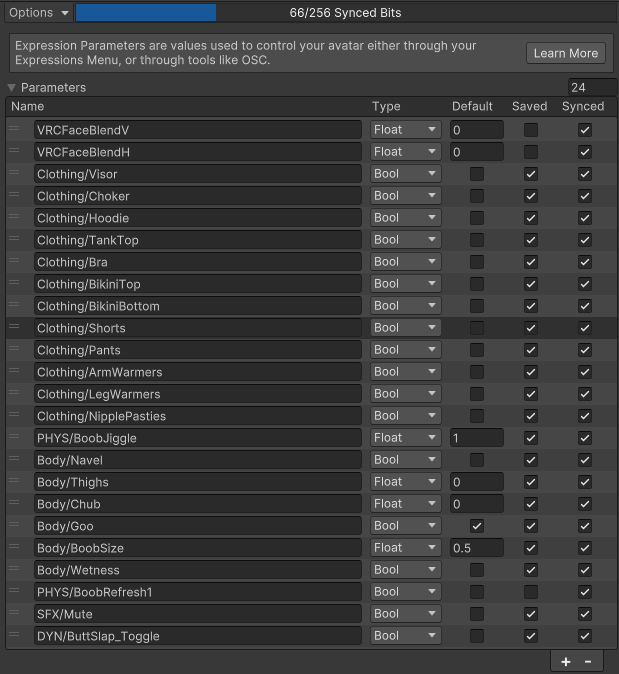
Here, you can change the numerical value or check which option you want on by default, and you shouldn’t have to worry about having to re-customize again once you reset your avatar.
Avatar Blueprint ID
Avatars all have an ID that can be used to identify it, which is generated when uploading for the first time.
If you ever accidentally remove the blueprint ID from the prefab, you can go to your uploaded avatars and copy the Blueprint ID of your desired avatar here:
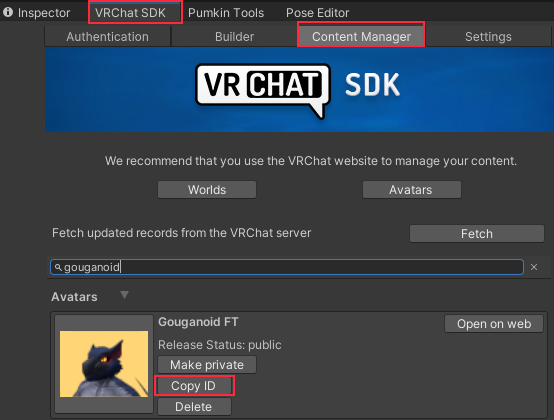 Before uploading, you can click the prefab in the hierarchy and scroll down (or sometimes up) to see the pipeline manager, and paste the ID in here and attach.
 Your avatar will then be assigned to that avatar ID and will overwrite it on the next upload.
Note
If you've uploaded your avatar, but would like to customize the model further, head to the 📀 Blender Customization section