Note
For basic instructions on how to use Substance Painter, head over to 🌱 Substance Painter Basics
Stacked Islands
The armor's Substance project involves some Stacked islands. Head over to 🌳 Substance Painter Advanced#Stacked islands outside the main UV tile for more information.
Lighting and Shading layers
All Protonoid projects have lighting and shading layers. Head over to 🌳 Substance Painter Advanced#Colors and shading/lighting layers for more information.
Nulliform
The Protonoid includes a “Nulliform”, A toggleable skin-tight under-armor. If you made any kind of changes to this outfit, you will need to export it too. If you noticed this texture being transparent in Unity, don’t worry, you don’t need to make it transparent and can export it with your regular textures underneath it.
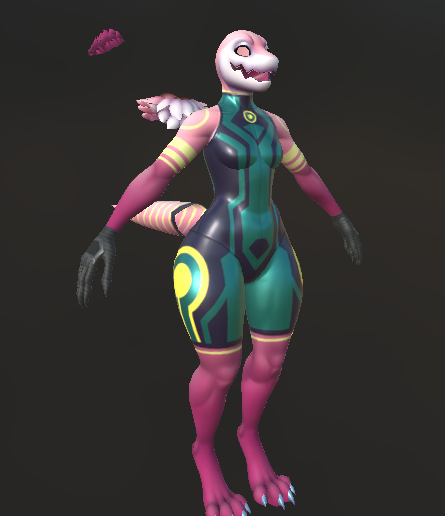
All you need to do is toggle the “Gloves” and “Nulliform” folders in the project so that they are visible, and export in a fresh, empty folder. Make sure you don’t overwrite the textures that were exported without the Nulliform and Gloves!
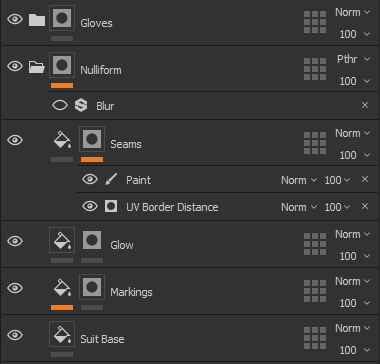
The gloves are meant to be there when the full armor is equipped (with the nulliform active) to simulate an air-tight seal, so keeping them activated on export might be more preferable for traversal within the vacuum of (virtual) space.
Emissions
Refer to the 🌳 Substance Painter Advanced#Emissions section for more information.
| Nulliform Off | Nulliform On |
|---|---|
 |
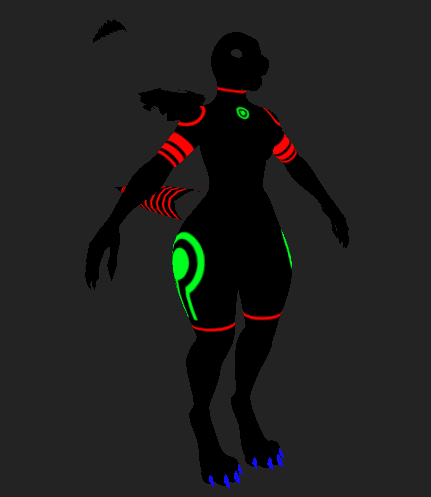 |
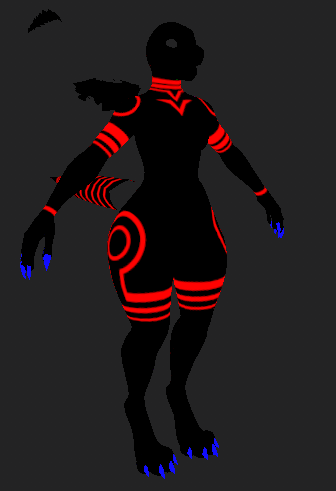
The red channel of the emission will be the main markings, the green channel will be the Nulliform’s emissives (also the Proto-face inside the helmet), and blue will be the claws. Unfortunately, because of the Nulliform, we need to use a second emissive map to “hide” the glow underneath it when it’s turned on. If you made any changes to the body markings or the Nulliform emissives (other than just changing the main color), you will need to export the textures with and without the Nulliform on, each in their own folders.
The emissive channels are already tied to their own relevant layers, so you don’t need to do any extra work in substance to set these up, they will change along with whatever changes you make to each layer that has emissives.
Remember, keep whatever color is in the "emissive" section, do not change it, regardless of which color you want it to glow! These colors should only be changed in Unity!
Instanced layers
Refer to the 🌳 Substance Painter Advanced#Instanced layers section.
UDIMs
Refer to the 🌳 Substance Painter Advanced#UDIM Workflow section.
Export Template
Due to Substance Painter changing things in newer versions, templates created from older versions of Substance are sometimes incompatible, meaning the cached one may not show up. If this happens, refer to this section in order to recreate the export settings correctly. Body & Armor:
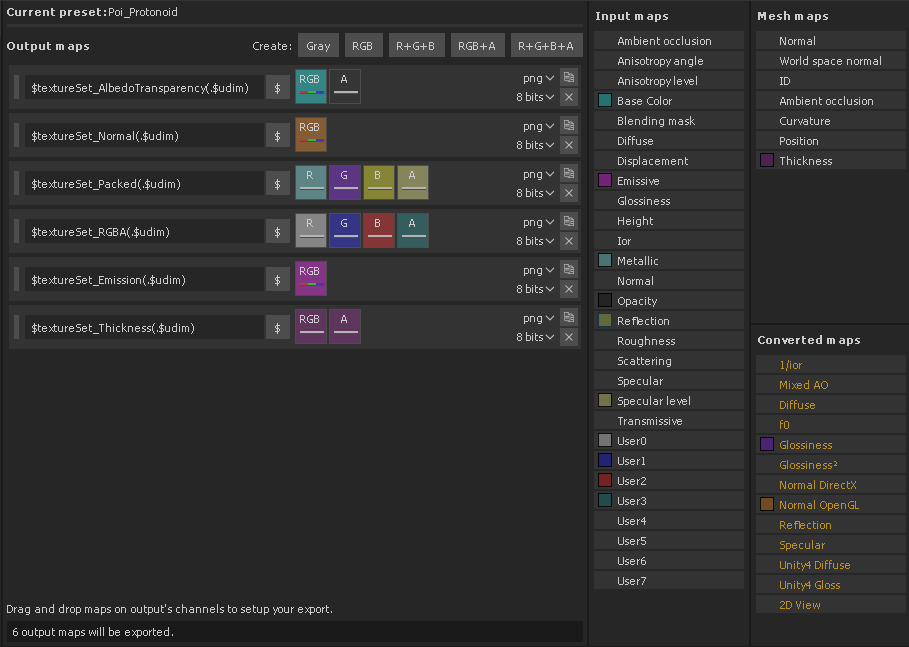
Clothing: Somewhat the same, but something went wrong. Alpha channel on metallics and specular map should be everything but the glasses. Alpha channel of RGBA should be shoes and glasses. the Substance project does not reflect this. I only just noticed this.
Exporting the textures
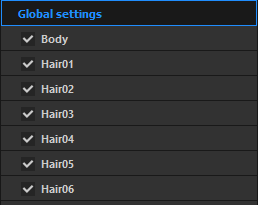
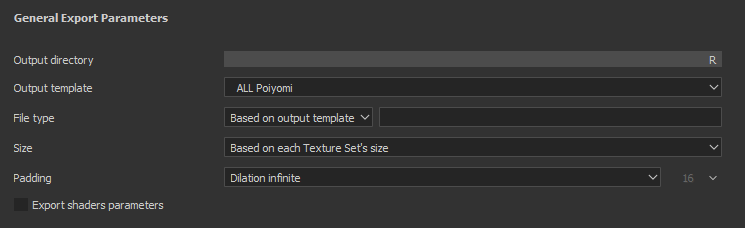
Once you’re happy with your texture work, Use the Output template provided (All Poiyomi) to export your textures.
Remember, make sure you export a version of the Body textures without the Nulliform/Gloves on and another with them on. Do note that they need to be in separate folders so that they don’t get overwritten by each other, as they will have the same texture names.
Importing custom textures to Unity
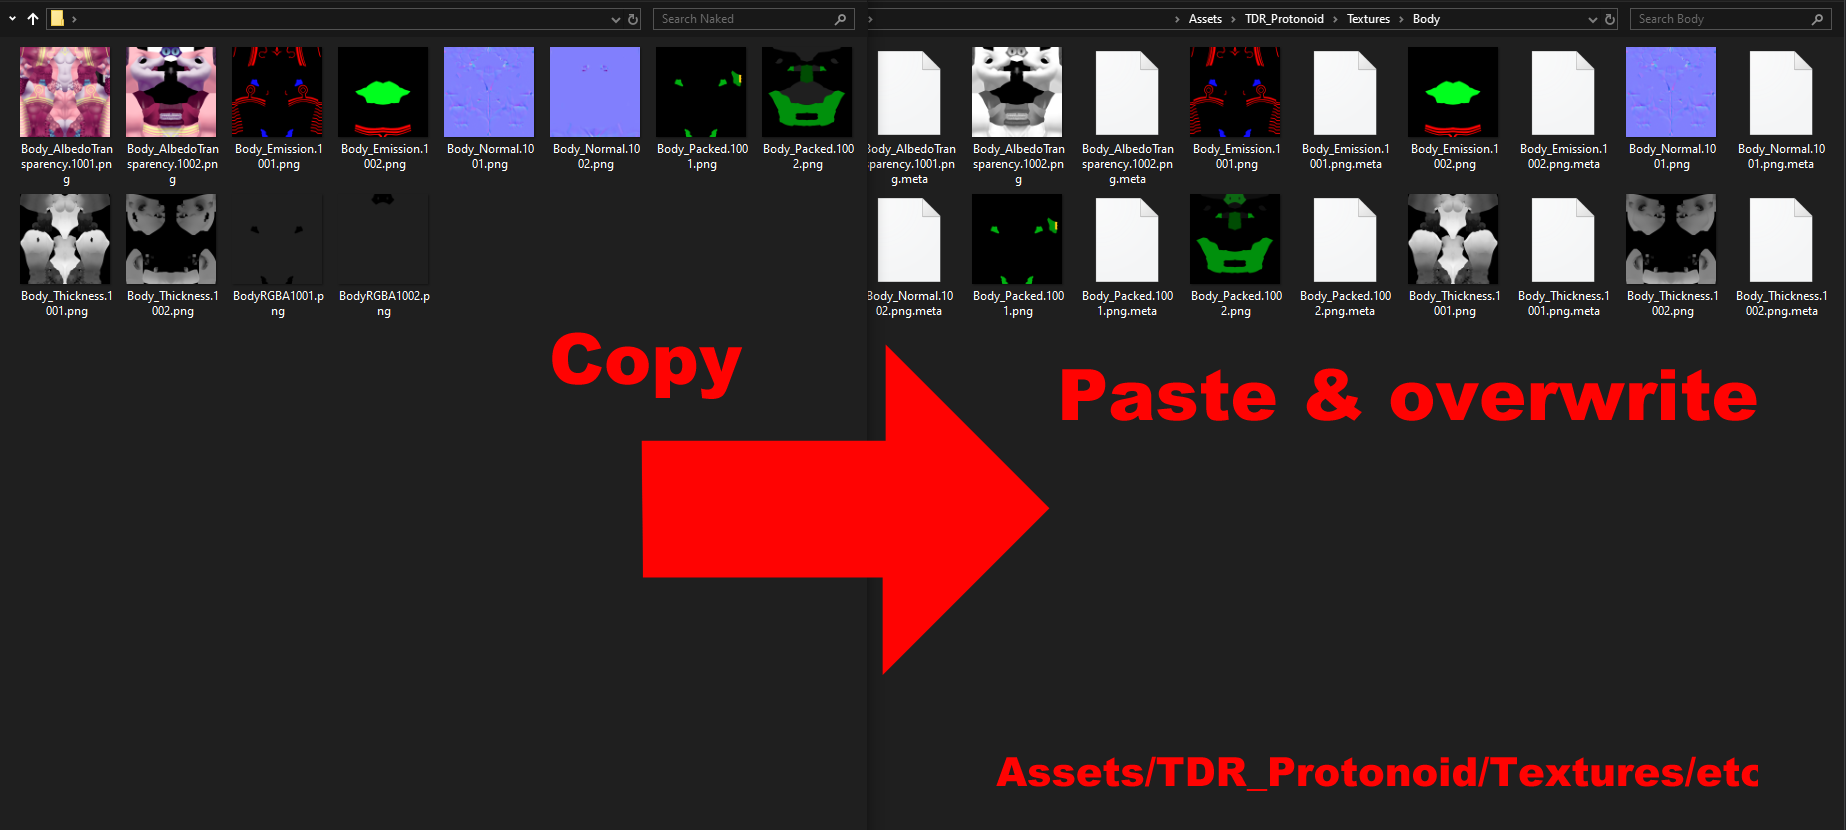
Once you’ve got all your textures exported, you can import them into Unity. The simplest way to do it would be to replace them in explorer like we did with the FBX, as there are specific import settings associated with each file that would be missing if we used a new texture. Each material’s textures are separated in their own folders in TDR_Protonoid > Textures.
Note
V1 does not have hair textures named properly and will need to be renamed before copying and pasting. This is fixed in V2.
Hint
In Unity, the Nulliform textures won’t show up until the option is active, if you’re trying to test anything, LOCK THE MATERIALS FIRST.
Success
Continue to the 🥡 Unity Import Process section.