Warning
If you're unfamiliar with Substance Painter, head over to 🌱 Substance Painter Basics
There are two different Substance Painter files for the Main body. One that retains all the brush strokes, and one where most of the masks have been compressed into a texture. I highly recommend working with the "optimized" one.
Paint Layers
Refer to 🌳 Substance Painter Advanced#Paint Layer Effect for more info.
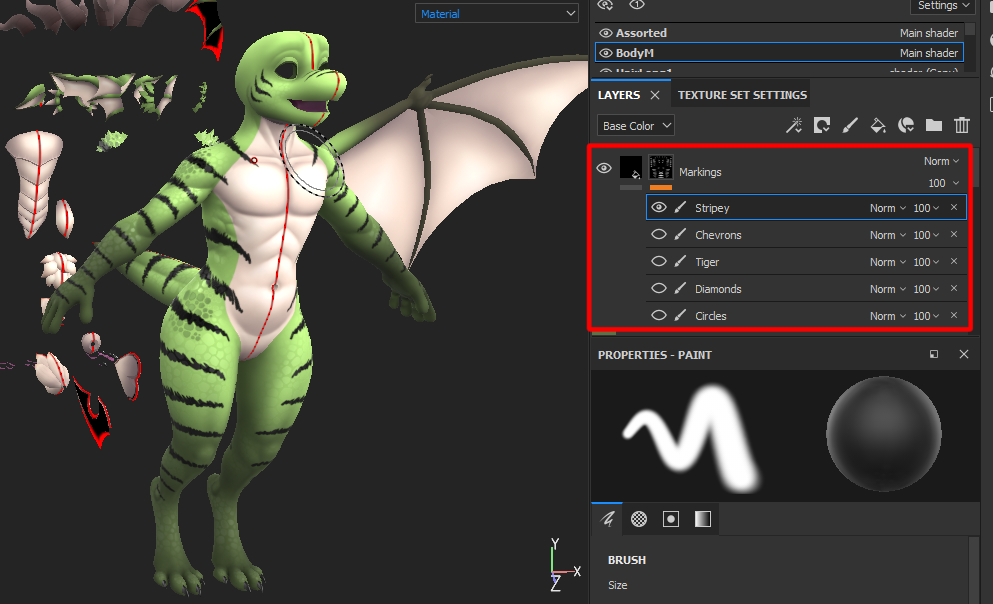
You’ll notice some paint layers on certain masks. These are extra options for that layer. The belly layer has an extra that extends the color to the inner thigh and under the arms. The markings layer has a few extra alternate markings like stripes, circles, etc.
Stacked Islands outside the Main UV Tile
Refer to 🌳 Substance Painter Advanced#Stacked islands outside the main UV tile for more Info.
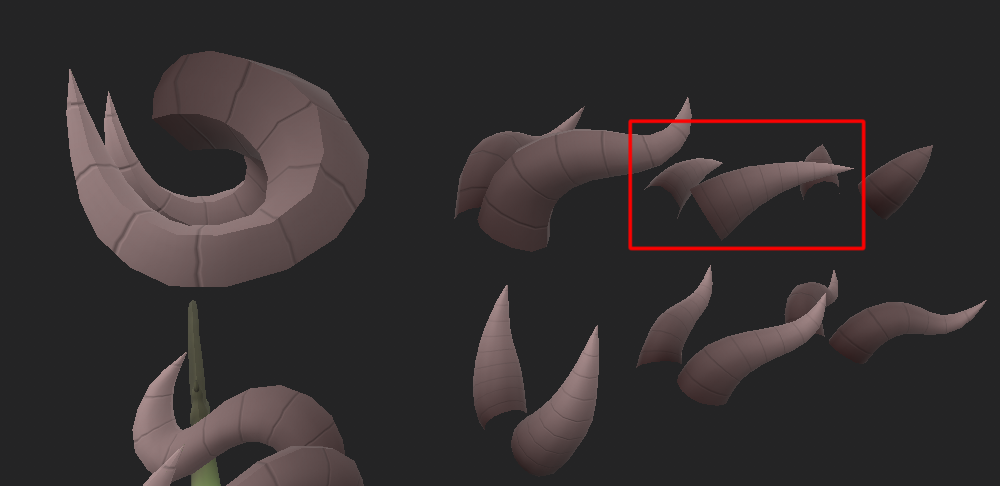
You might notice not being able to paint on certain parts, most notably, certain horns and fluff. Below are the only horns that are paintable, but painting on them will affect the rest. Similarly, many tufts of fluff are not directly paintable and have a "main" tuft that can be painted on.
Extras
Belly Plates
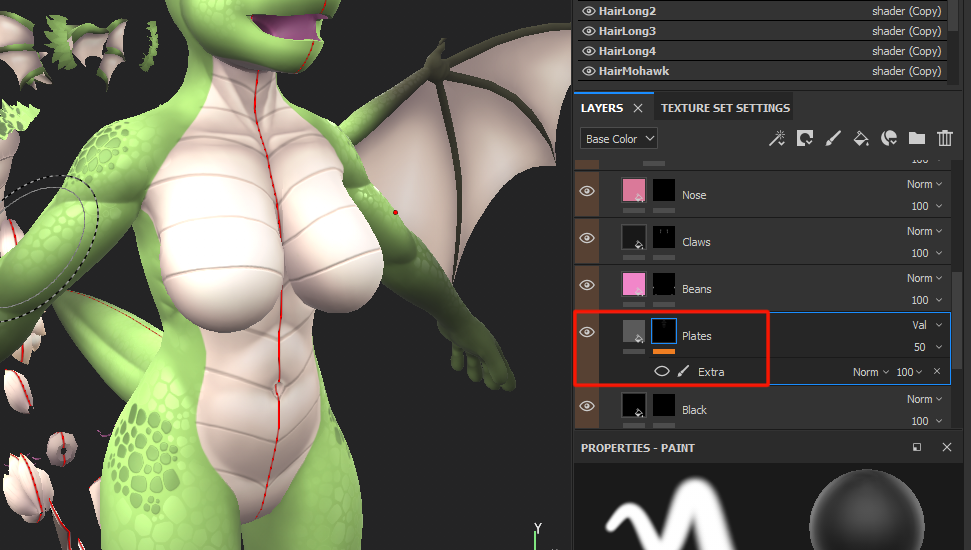
Since the chest plates aren’t compatible with the boobed version, I’ve included a preset in substance for a “painted” style of belly plates. it can be found in the Misc folder of the body material.
Alternate Scales for Shoulders and Hips
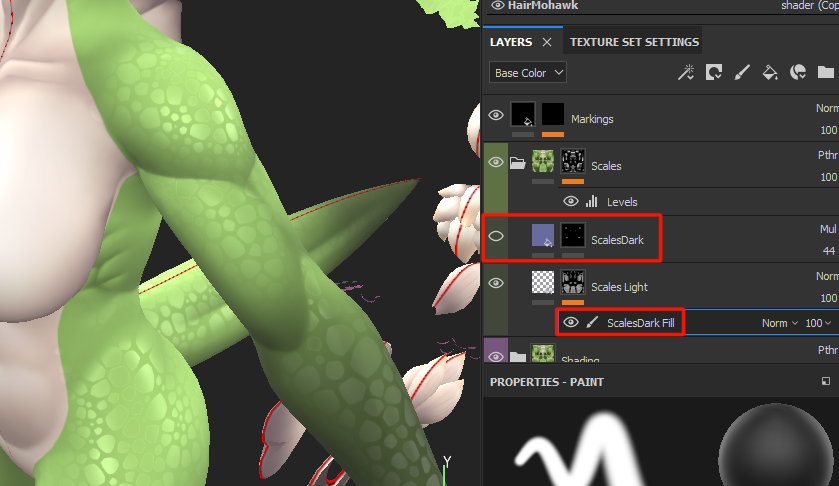
If you’re not a fan of the darker scales, you can remove them and fill the gaps using the “ScalesDark Fill” paint layer on the scales light mask.
Holographic Logo Modification
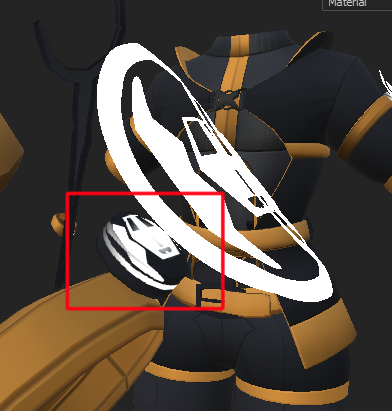
If you’d like to add your own logo to your outfit, you might notice some issues, like the logo bleeding into other parts of the model when you try to apply it.
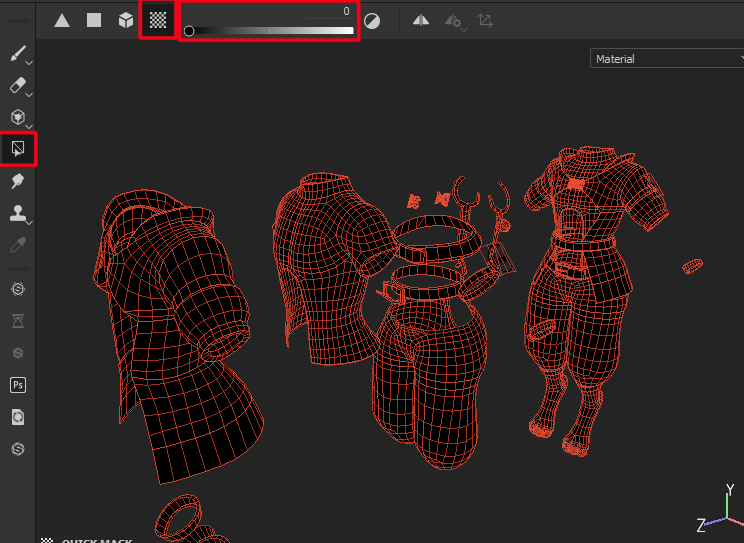
To fix it, you can use a quick mask. Press Y to enable quick masking. Using polygon fill set to “UV Chunk”, you can deselect things you don’t want to paint on by dragging over everything with the value slider set to 0.
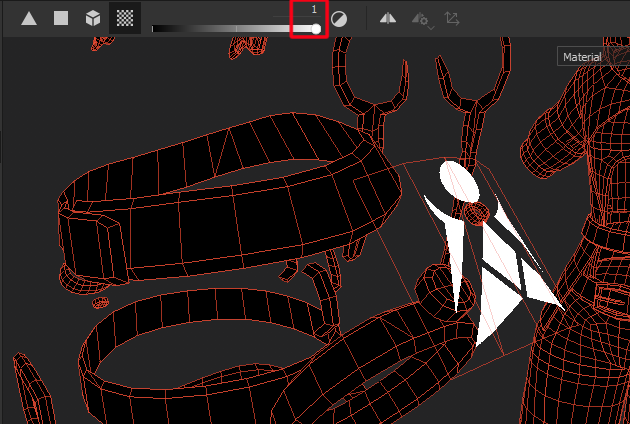
Then, set the slider to 1 and click once on the logo area to unmask it. Pressing “U” on your keyboard will switch between masking mode and painting mode. In this mode, you can draw or stamp an alpha on the logo without having to worry about it bleeding onto anything else. Once you’re done, Press Y again to discard the quick mask.
With this, you should be able to change the color of any layer to your liking, and make any changes to the masks you’d like. More specific functions of the program might be better learned through youtube tutorials or google. I’d rather not receive questions about how to use Substance Painter.
Exporting (updated)
While the provided export setting would work, It requires extra setup in Unity. To export the needed textures, refer to this export template.
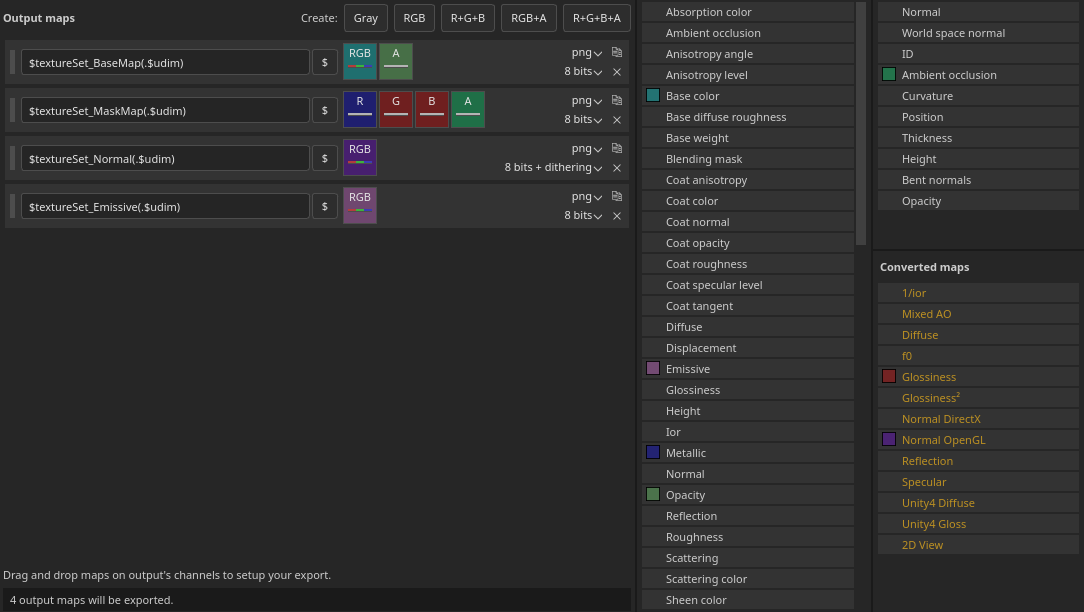
Once you've created the export template, remember to use it when exporting!
Success
You can now move on to 🥡 Unity Import Process