Info
This section has random notes about the creation process for the avatar and what I learned while making it.
Concept
The idea of the Protonoid came to me after using my personal retexture of Nukude's Protogen. I would often sit with my legs close to my chest, and my friends would often say I was like a morph ball. As a joke, I made an AFK animation that turned my protogen into a morph ball.
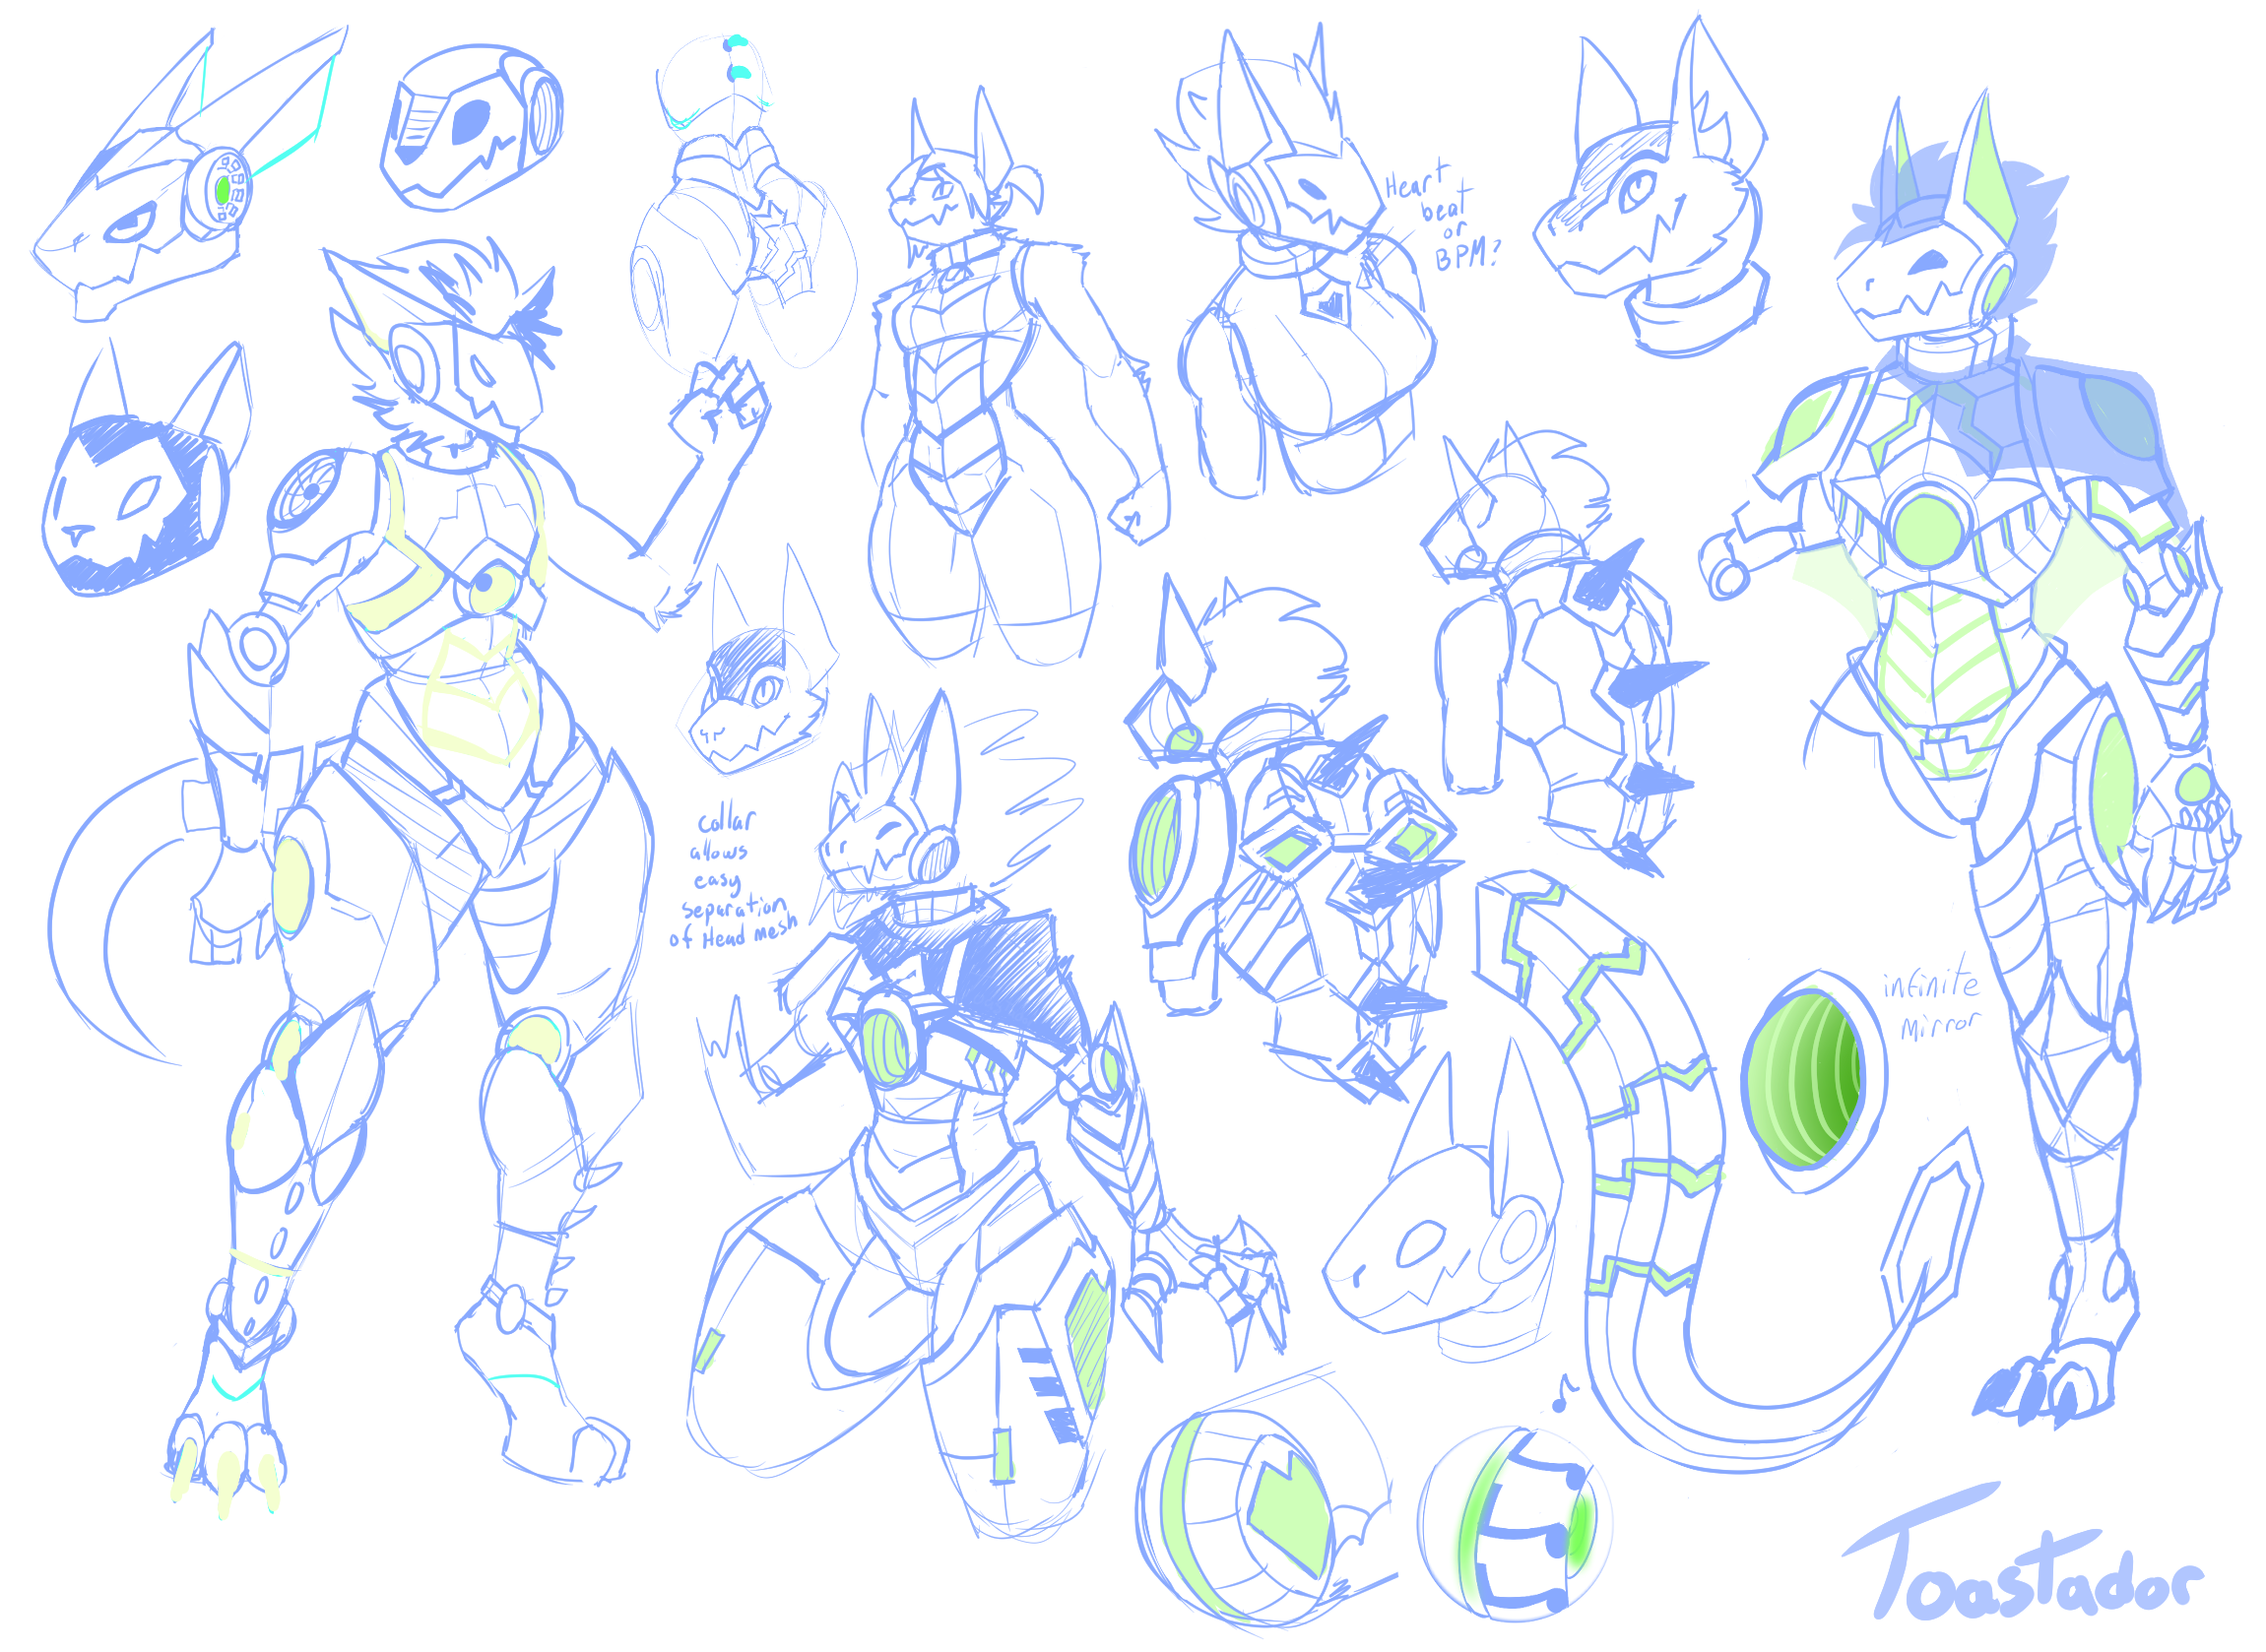
It wasn't until after working on the Drakonoid that I thought back on it and explored the idea of a Samus-inspired Protogen. I was inspired enough to actually try to do concept art for it, which I usually kind of struggle with. Initially, I was thinking of having a more snake-dog look to the creature inside the armor, which shows through the concept art a bit, but I pivoted more towards a jackal. I was playing Hi-Fi rush at the time and really wanted to incorporate some elements from that into the armor, but I couldn't find a way to make it work outside of how the joints look. I was also heavily inspired by Lingering will, which is especially noticeable in the helmet and belly plates. To be honest, I had a pretty tough time figuring out a look I was happy with, and scrapped quite a few iterations of the armor.
Face Tracking
I wanted this model to be my first attempt at face tracking. At the time, the Unity version used by VRChat did not suppport blendshape skinning on the GPU, meaning that meshes with a lot of blendshapes would be considerably more performance intensive the more vertices the skinned mesh has.
As a result, I planned to separate the head mesh from the body mesh and tried to plan ahead. I had a feeling that I would have to deal with a seam and gave the model a collar to hide it.
I ended up learning a lot about UDIMs, how to properly use masks, and experimented with a lot of Poiyomi features I hadn't touched before, like UV Tile Discard, Dissolve, internal parallax, global masks, Audio link, and using different UV maps for different effects.
And then VRChat stopped using Unity 2019, so the performance issue with Blendshapes was basically fixed entirely. Still, it made me understand that separating the body and head materials was still great for keeping the texture resolution low while still keeping important details sharp, and kept that workflow moving forward.
New Chest Swap system
I was really tired of issues with Blendshape normals in Unity, and tried a new approach: Both boobs and pecs would be on the same mesh and use the same UV space, but unwrapped in an "in-between" state to minimize warping. Normals were data-transferred on the edges to hide seams, and UV Tile discard and blendshapes would be used to hide the unused mesh. It works pretty great, but it would seem it complicated things for asset makers.
I still feel like it's worth the trouble. This method allows both the male presenting and female presenting meshes to be on the same object without breaking the tri-count bank, at the cost of a liiiittle bit of warping on the chest texture. It still keeps normals the way they should in that area without getting rid of custom normals.
Post-Release
I had not foreseen that the base would do as well as it did. I felt like I had to give back a bit more because of that, and spent a considerable amount of time working on the casual clothing and reworking the body blendshapes. The tanktop for this model made me come up with this corrective blendshape system for boobs which tries to prevent clipping when bones are moving towards the center. It has its quirks and requires a lot of work and extra blendshapes for when other body blendshapes are active, but it works.