Info
This section has random notes about the creation process for the avatar and what I learned while making it.
First Iteration
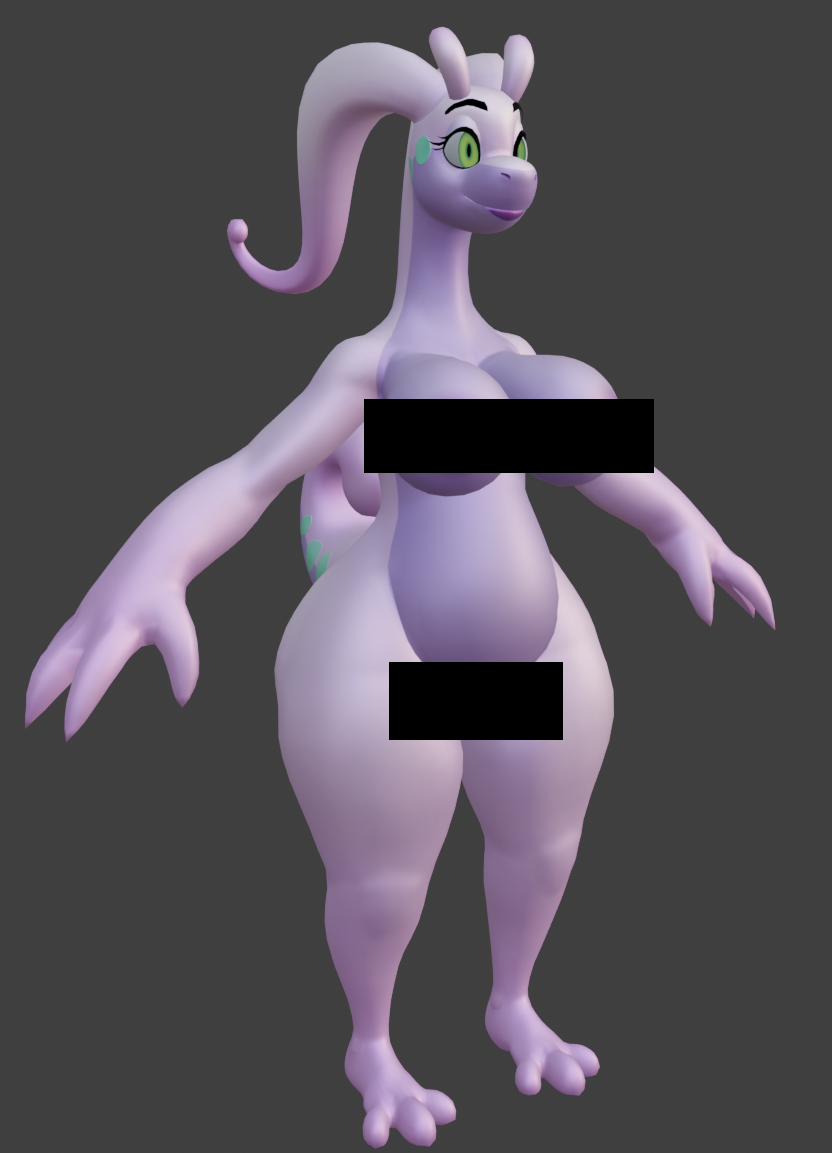 This avatar was first created around 2021 as a personal project. The first iteration of the model was not made with VRChat in mind, and as such, I didn't give much thought to proportions. I was not happy with the way the model looked either, and later remade it almost entirely from scratch.
Second Iteration
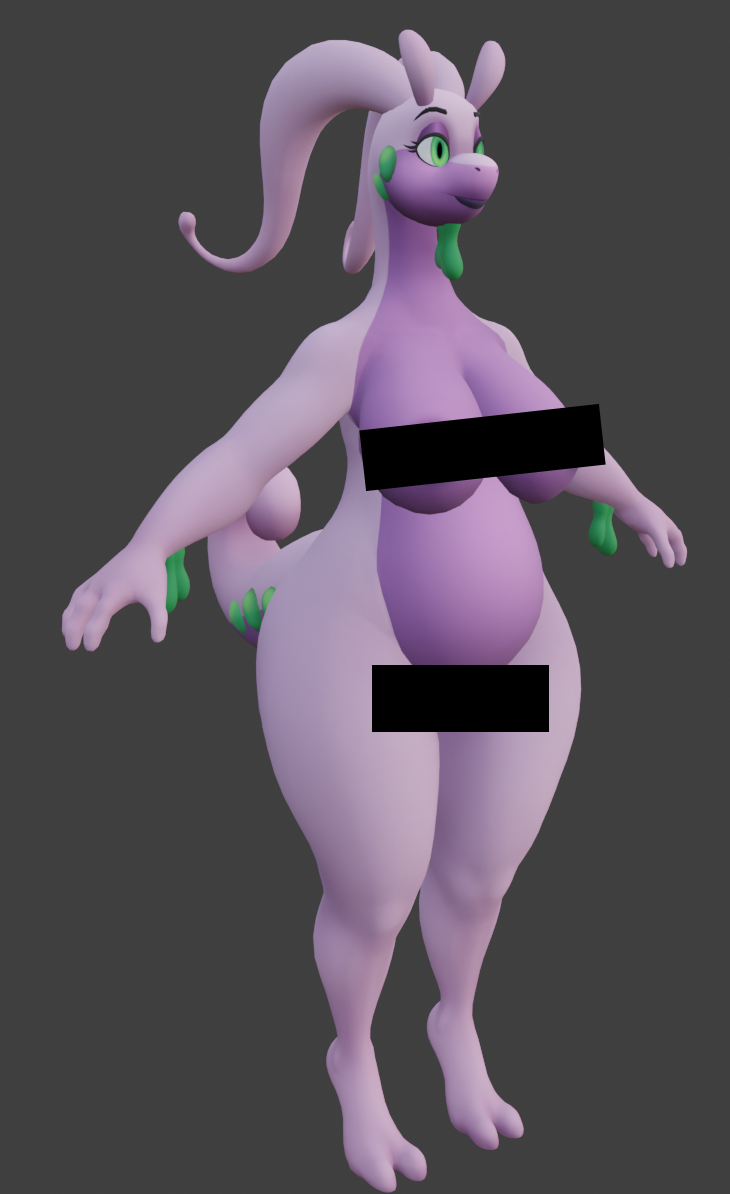 I then used this remade model as a way to learn how to do a proper animation rig in Blender, following Pierrick Picault's "The Art of effective Rigging" class. This class is no longer on Gumroad, having been replaced with an updated, online-only video series on their website for double the price.
Once I had completed the class, I felt like I had learned a lot about blender's driver system and used that information to make my avatar customization menu on the Drakonoid.
While trying to use the Dragoonoid for animation however, I noticed I had forgotten to apply transformations on the rig, which meant the model was 10 meters tall, and in the process of trying to scale it properly, I realized that a lot of the systems I had worked on for the animation rig were going to break.
Third Iteration
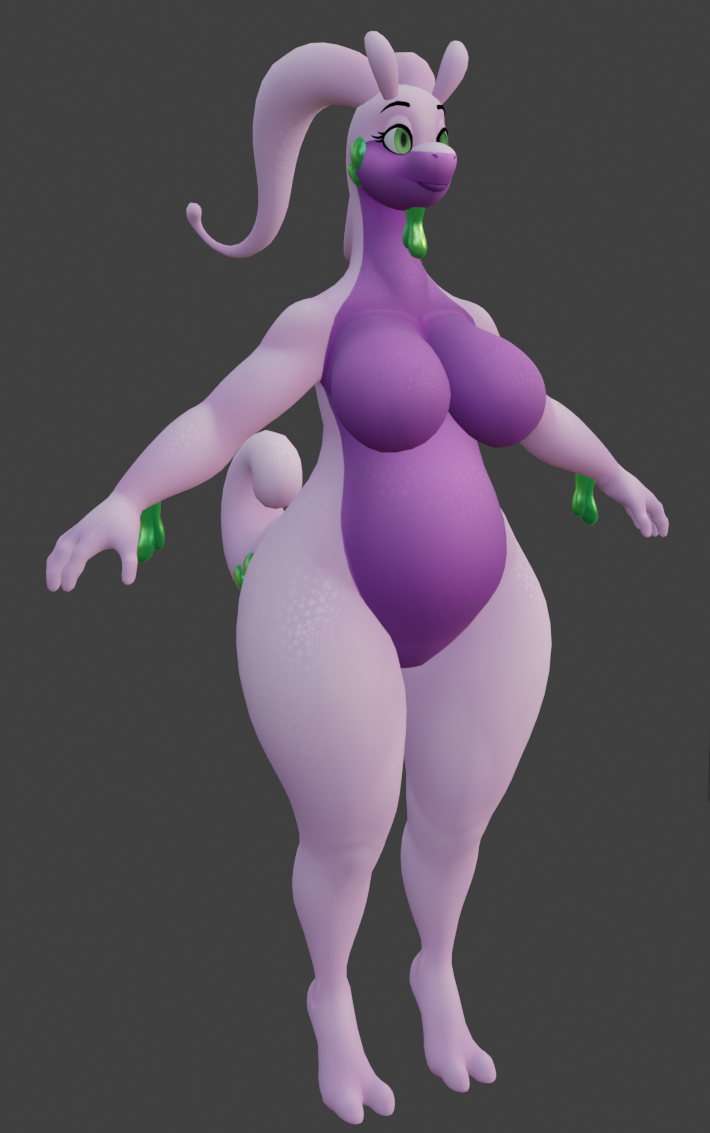 I scrapped the animation rig and focused on converting it to a personal avatar project, which meant I had to remake a lot of things like UVs, textures and topology to be more in line with what one would expect for an avatar.
I had completed the avatar and sent it to friends for testing, but I was really unhappy with how the avatar felt in full body tracking. I did not feel the avatar met my quality standards and decided to move on.
I then focused on the Drakonoid, and only came back to the model after finishing the Gouganoid.
Fourth Iteration
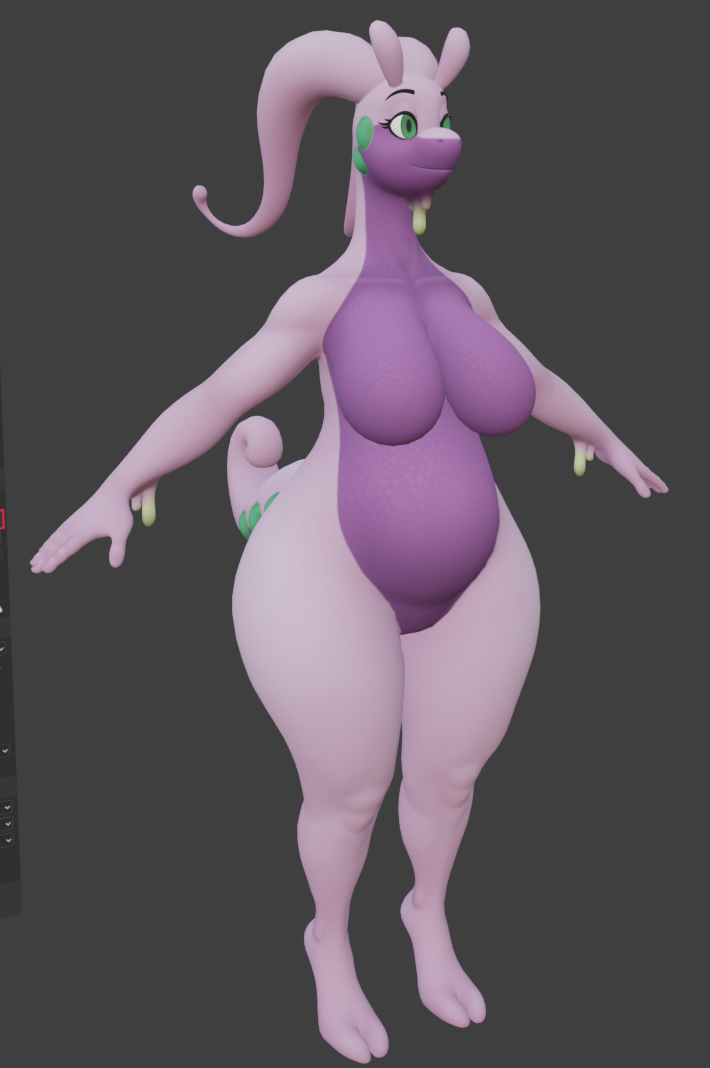 I had figured out a way to move/resize parts of the armature without ruining Blendshapes. I tweaked the proportions as much as I could to improve the feel in VRChat, remade the hands and feet, tweaked some shapes like the neck, face, hips... and eventually just remade all the topology, blendshapes, UVs and textures.
Since the last time I touched this model, I had learned a lot about how to use a UDIM workflow. The previous iteration of the model needed a 4k texture, and I was not happy about that. I spent a lot of time trying to figure out a way to unwrap this model and not need a 4k resolution, but the massive thighs, long neck and tentacles took a lot of space in the UVs. I ended up needing to use 3 UDIM tiles to get a decent enough textile resolution for the body, which is not exactly ideal, but I had to make it work. I'd take the few extra draw calls if it meant using less texture memory/VRAM.
One thing that particularly took a lot of work is that I wanted to test out a different way to do swappable parts of the mesh. In order to get the full picture, I'll have to explain the reason for this workflow.
Blendshape Normals Issues
You see, a combination of very annoying bugs plagued Unity and Blender for years. To my understanding, Blender had no way to export Blendshape normals on FBX files. What this means is that in Unity, the normals would not update with Blendshapes. In other words, if you made a Blendshape that transformed a flat surface into a round one, the shading on the model would not appear round, it would behave as if the mesh was flat, which looked really bad. You could let Unity calculate normals, which would update with normals and fix this, but it would discard custom normals, which are important for blending things like fur into the mesh seamlessly, along with hiding seams where the swappable plates would be.
Neither option was ideal, and to work around it, I came up with a workflow that involved having a hidden, duplicate version of a part of the mesh which had the correct normals for the shape it had which I mainly only used to switch between boobs and pectorals. This way, I could keep custom normals, and minimize the issues related to changing between breasts and pectoral blendshapes. One downside of this method is that it makes it a bit harder to work on for accessories. Another quirk is that the UVs kind of have to match for both boobs and pectorals, and so they share the same shading and normal maps.
Blendshape Normals Fix
Previously, Blender would remove Blendshape normals if there was no noticeable difference to the normals. This would break in Unity, because Unity expects Blendshape normals on ALL blendshapes. So as part of their FBX Blendshape normals export fix, they made sure they exported normals on ALL blendshapes. Yay...right? But the issue goes even deeper. The FBX format as we know it...it kinda sucks ass. it doesn't quite include all the information regarding blendshape normals. FBX only exports FACE normals on blendshapes, not face corner normals. In other words, the center of the face will update its normals, but each corner of each face won't have its normals updated. In some situations, it can work fine, but it can create artifacts in others. Until we get proper support for GLTF or something, it would seem we're stuck with these artifacts.
Blendshape normal artifacts
These shading artifacts that show up without proper face corner normal data would appear often when stacking multiple blendshapes that drastically change the angle of a face. Notably, this would happen very often under the breasts with the chubby blendshape. To Fix this, I had to combine both blendshapes into 1, and instead of stacking these body blendshapes, I would merge them into multiple "states" that I could blend between. It worked pretty well for the most part, but some artifacts still remain in very specific conditions. Unfortunately, fixing them would require me to repeat the same process for all the breast blendshapes, which would make working on the model or making future modifications almost impossible with how many blendshapes there are and how complicated the relationship between them would be.
Swappable plates
So. Remember how I mentioned I had meshes like the chest swap between pectorals and boobs? I wanted to see if I could assign different textures to these plates so that I could essentially have both the NSFW and SFW parts in one avatar. Good news is, yes, it's totally possible. Bad news is, it's so much work.
Working with swappable plates that have their own separate texture space means that when painting the shading, it won't transfer to the other plates properly. You could use a quick mask to try and match the shading between plates, but quick masks darken the mesh outside of what you're painting, which makes it impossible to match the values accurately.
So in order to match the shading of the plates to the original mesh, you have to use a second shading layer that only paints on those plates using a paint layer effect to mask out the outside, then you have to painstakingly make sure that the mask values between the plates and the original match perfectly, otherwise a seam will be noticeable. As if that wasn't enough, the texel resolution and the UV islands' edge directions have to match between the plates as well, or a seam could also be visible if the resolution is low.
Then you have to do it for every single swappable part of your mesh. Then you have to do it for the lighting and any other effect that might cross over between plates (like the scales)
Needless to say, this workflow was an absolute nightmare and I don't want to ever have to do it again.
Translation Physbone
It sounds kind of funny to say, but while playing Ninja Gaiden Sigma, I noticed how different their breast jiggle system was. It didn't rotate around a single point, it translated the bone instead, which looks more accurate in movement. I thought it would be interesting to try to recreate in VRChat, and came up with a solution. A single physbone with an angle limit of 0 would point in the 3 major axes; X, Y and Z. The squish and stretch of these bones would cause each of their endpoints to move in 3D space.
By then creating an empty gameobject that is parented to these 3 endpoints at once, it can jiggle by moving instead of rotating. That said, the influence was divided between the 3 parents, but increasing the weight nullified this issue. The breasts are then parented to that empty gameobject. I am very happy with the result of this experiment and will include it in my future projects.
Stretch and squish
Unlike my previous models, which used receivers for this effect, I tried implementing the squish and stretch feature of physbones on the breasts for this model. Through experimenting a lot, I noticed that a single bone behaved much better for this purpose than a chain of multiple bones. I also noticed that a bug with Physbones caused the squish and stretch value to jitter drastically during movement, but the squish and stretch felt like a huge improvement in movement, which is why I opted to use immobile world, which caused yet another issue to appear: in very big worlds (like Fish!), moving physically in your playspace would sometimes snap the physbones to different parts in 3D space, most likely due to floating point precision errors. There's also the issue of squish and stretch conflicting with the system I have for squishing breasts together. While stretch and squish is great, is also has some quirks, like how collisions will often cause the bone to squish or stretch completely due to a lack of friction. This meant that I had to make the system for squishing breasts together have priority over the stretch and squish one. I would love for VRChat to add a friction value to prevent this, and for them to also fix the massive jitter that occurs when moving around when the stretch and squish feature is active.
As happy as I am about the way the squish system looks, the conflict between squishing breasts in and squishing breasts together is one of the things I am the least happy with on this model. It behaves a bit erratically and I'm not sure if there's really a way to fix it without completely rethinking my approach.
Masks vs Geonodes
Something I noticed while making my previous bases is that performance when posing or animating in Blender was not good. I pinpointed the mask modifiers as the culprit, which is what was being used to hide specific parts of meshes. It drastically reduces framerate in the viewport, so I tried making an alternative using a geonodes setup. It's not perfect, it leaves artifacts on the surrounding normals when mesh is hidden, but it seems to perform much better.
The PayProPocalypse
Part of the reason for the amount of time it took to make this model and why I haven't released more nsfw assets is the war on adult content by payment processors. The landscape drastically changed for the worst in the past few years, and it made it very confusing to understand how one would go about selling nsfw assets anywhere. It would seem pretty much every storefront changed to prevent the sale of anything NSFW, going as far as removing the ability to purchase a model if a product even mentions the word "NSFW", regardless of whether or not the avatar itself is nsfw. Emailing support for these platforms would often give conflicting and inaccurate information that would sometimes reflect the employee's own prejudice rather than any written rule from their platform.
While Gumroad made it clear that it gasps in horror at the mere concept of a breast size slider, It is still unclear what is and isn't allowed even on platforms like Jinxxy. They use the words "Adult", "Pornography" and "NSFW" in their guidelines, yet never clarifies what differentiates one term from another. Pornography isn't allowed on their platform AT ALL, but Adult content is allowed, except it cannot be NSFW. But it "mostly" applies to advertising? The "main purpose" of the product can't be sexual in nature? None of it makes any sense. I can only assume it is confusing on purpose with how vague it is.
When will these asinine and pointless restrictions end? I am a consenting adult who wants to sell completely legal products to other consenting adults. Leave us alone.
Conclusion
I have learned a lot while making this model, but I have burnt myself out quite drastically in the process once again. I had initially thought that touching up this model would not take very long, which is very funny to think about in retrospect.