This section is mostly only relevant to my later avatar bases.
I've come up with my own workflow for avatar bases that removes unnecessary meshes and bones easily at the cost of making my customers briefly dip their toes into Blender, in a way that should be easy to follow and does not require deep knowledge of the program.
Downloading Blender
You'll need Blender. You can download it through Steam or Use the latest version on the official website.
Danger
Be wary of fake websites! Blender website lookalikes do exist and can potentially distribute malware!
If ever in doubt, search Wikipedia for an official website.
The Basics
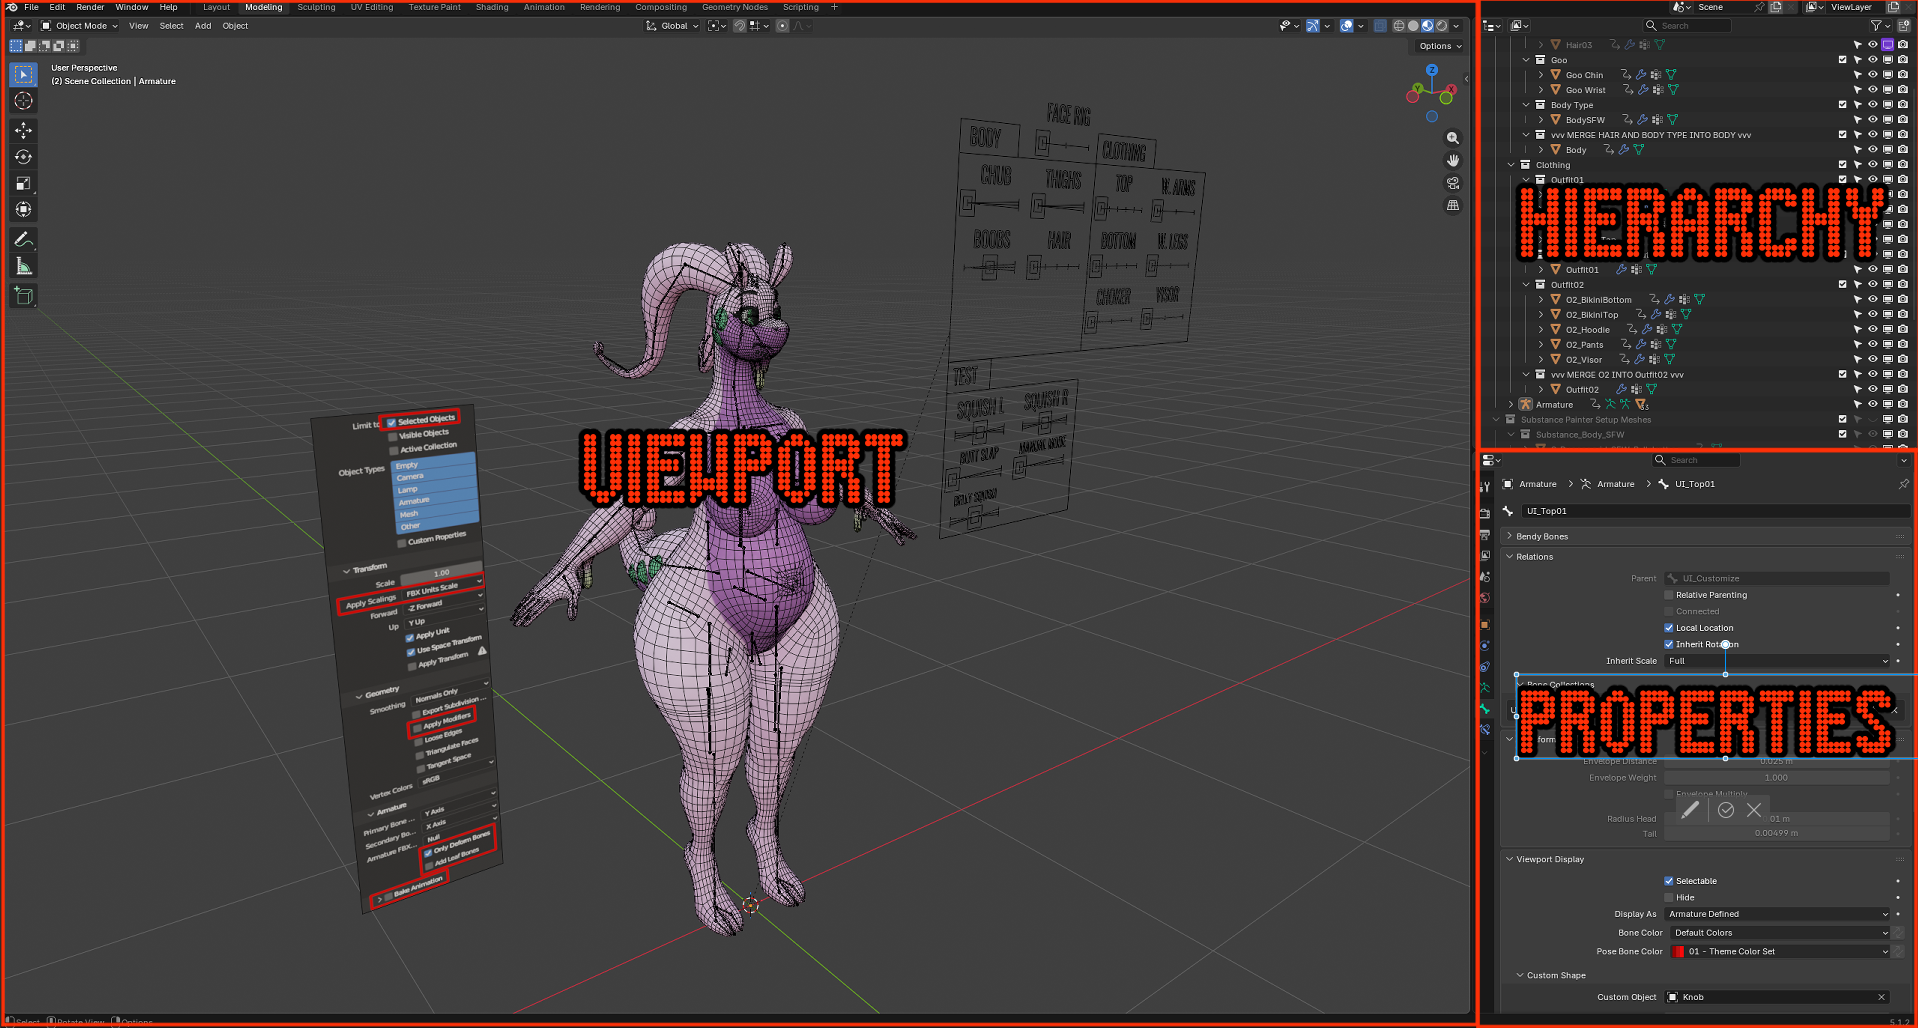
Once you open the blend file, it should look something like this, but might look a bit different depending on the avatar. If you only see a cube, you should update Blender to the latest version.
Tip
You can navigate Blender using the middle mouse button to rotate, hold shift and middle mouse to pan, and scroll wheel (or CTRL and middle mouse button) to zoom.
Blender Shortcuts are context sensitive! Depending on which section your cursor is hovering over, shortcuts will change to reflect that environment! For example: you can’t rotate the camera if your cursor is in the hierarchy window.
Customization Menus
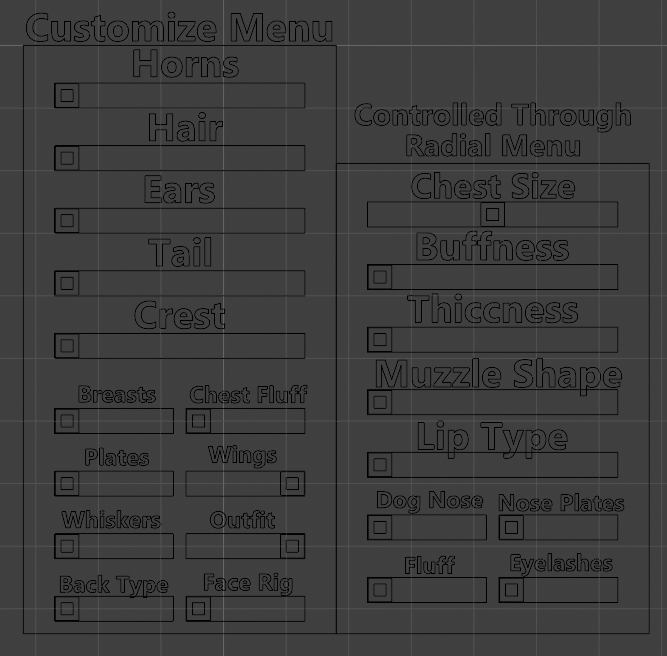
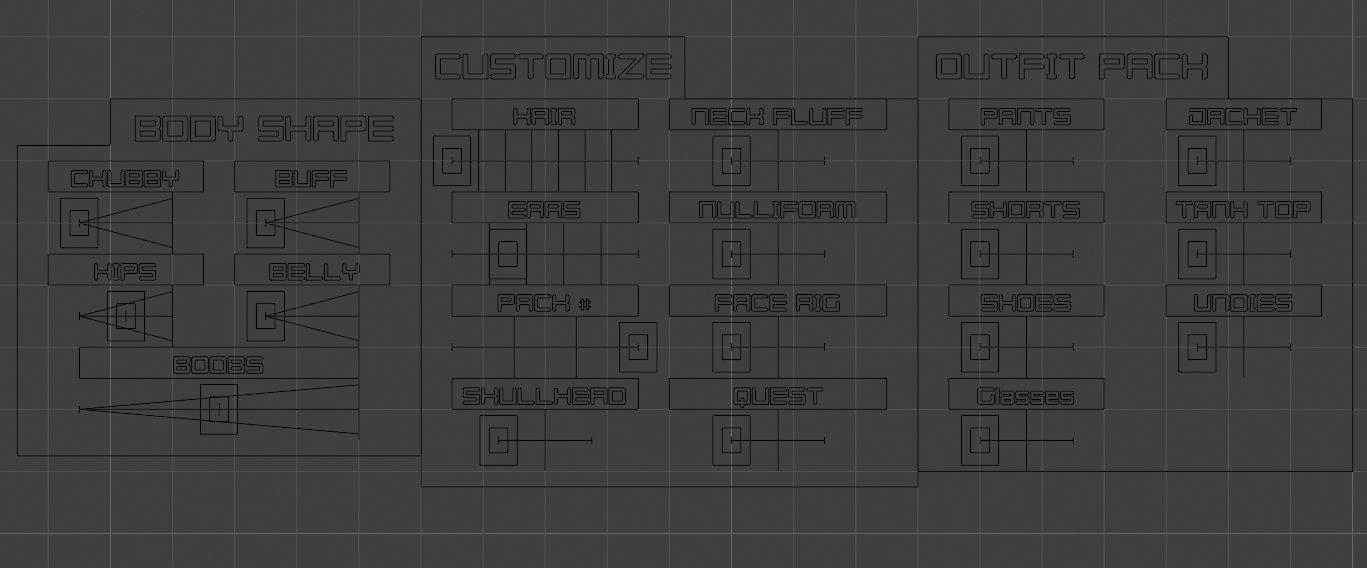
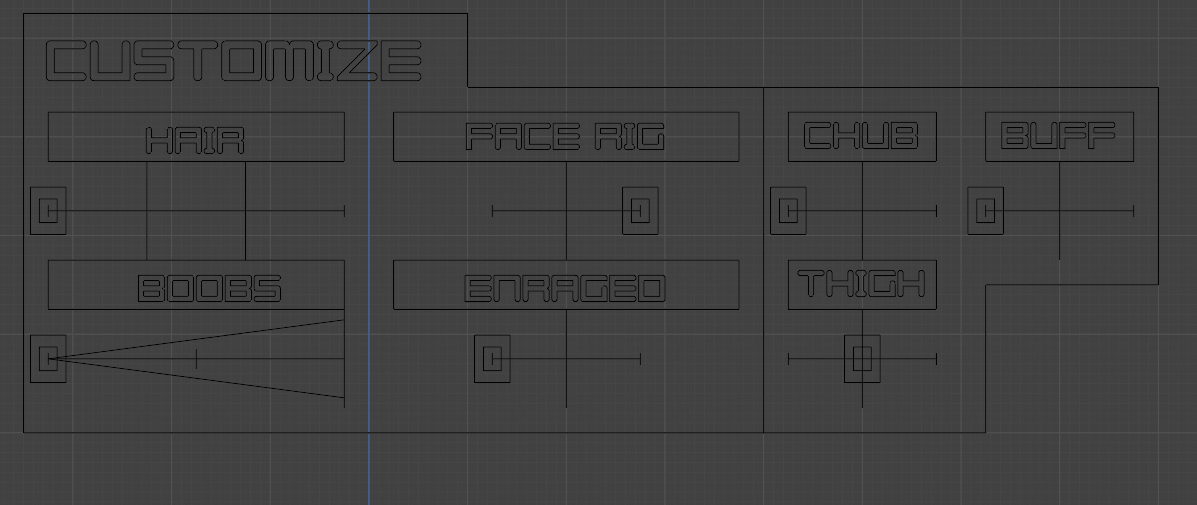
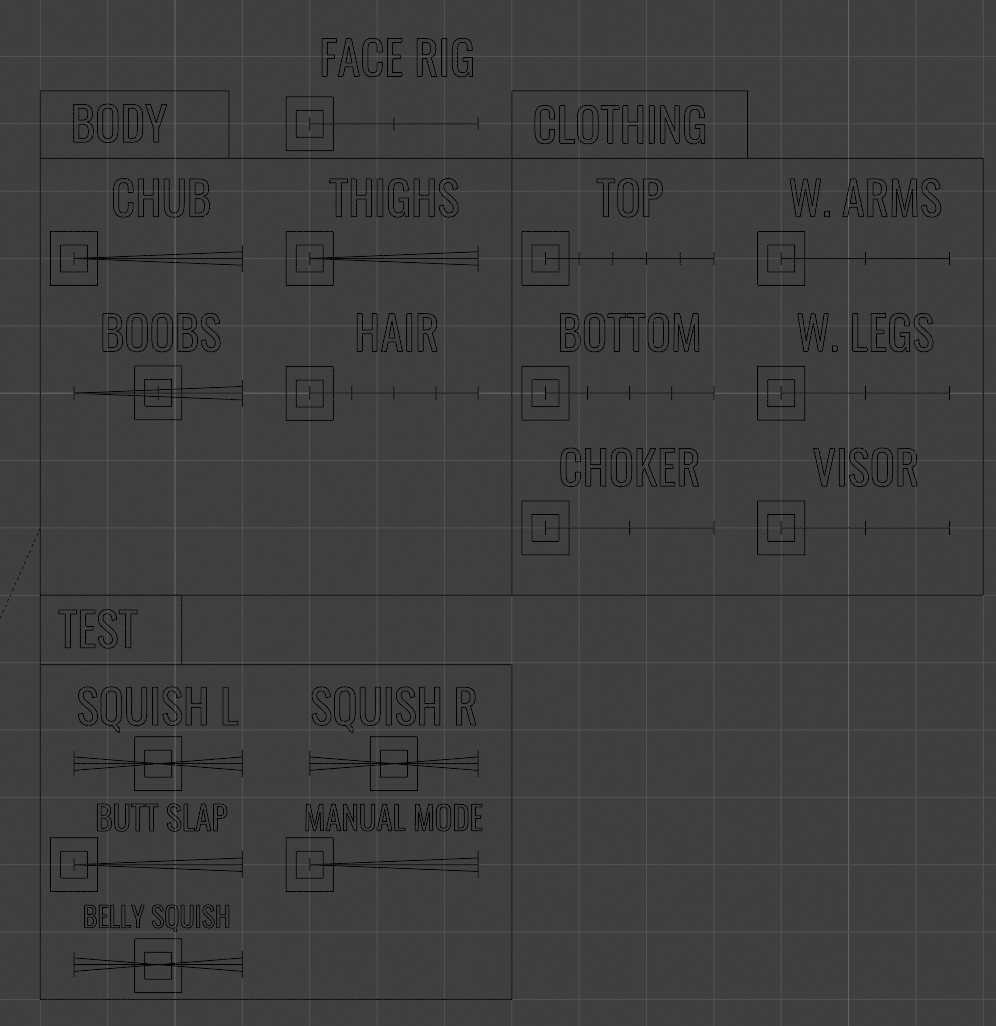
From the Drakonoid onward, you should notice a customization menu. Other avatar makers very rarely include something like this.
| Drakonoid | Protonoid |
|---|---|
 |
 |
| Gouganoid | Dragoonoid |
 |
 |
Warning
My earlier avatar bases (Sharkonoid, Gremlin, Tasque Manager, Toastacuga) do not have this menu, and already include everything in the Unity file.
I don't see a menu like this?
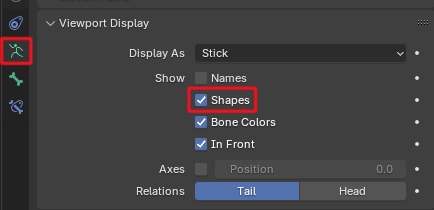
If this menu is not visible for you, and it is NOT one of my earlier avatar bases, you might need to select the armature and enable “shapes” in the viewport display section of the armature.
To clarify, these menus exist to make it quicker for me to work on shape keys by simulating a Unity FX layer and to enable a workflow that quickly optimizes meshes and bones for customers. That is to say, while there are a few available sliders, not all of them are relevant, as the main goal of the menu for you is to pick and choose which mesh you want to use, merge it with the correct object and discard unused ones on export. This way, we don't have a bunch of unused meshes and bones stuck to the model in Unity.
This customization menu works similarly to a Radial Menu in VRChat. Currently, the menu cannot be modified, because we are in Object Mode.
To begin customizing, click the customize menu until it is highlighted, and use the dropdown menu in the top left that reads “Object Mode” and set it to “Pose mode”
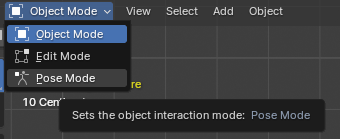
In this mode, individual bones can be posed, which is what this menu is controlled with. You can also quickly switch between Object Mode and Pose mode using Ctrl+TAB on your keyboard.
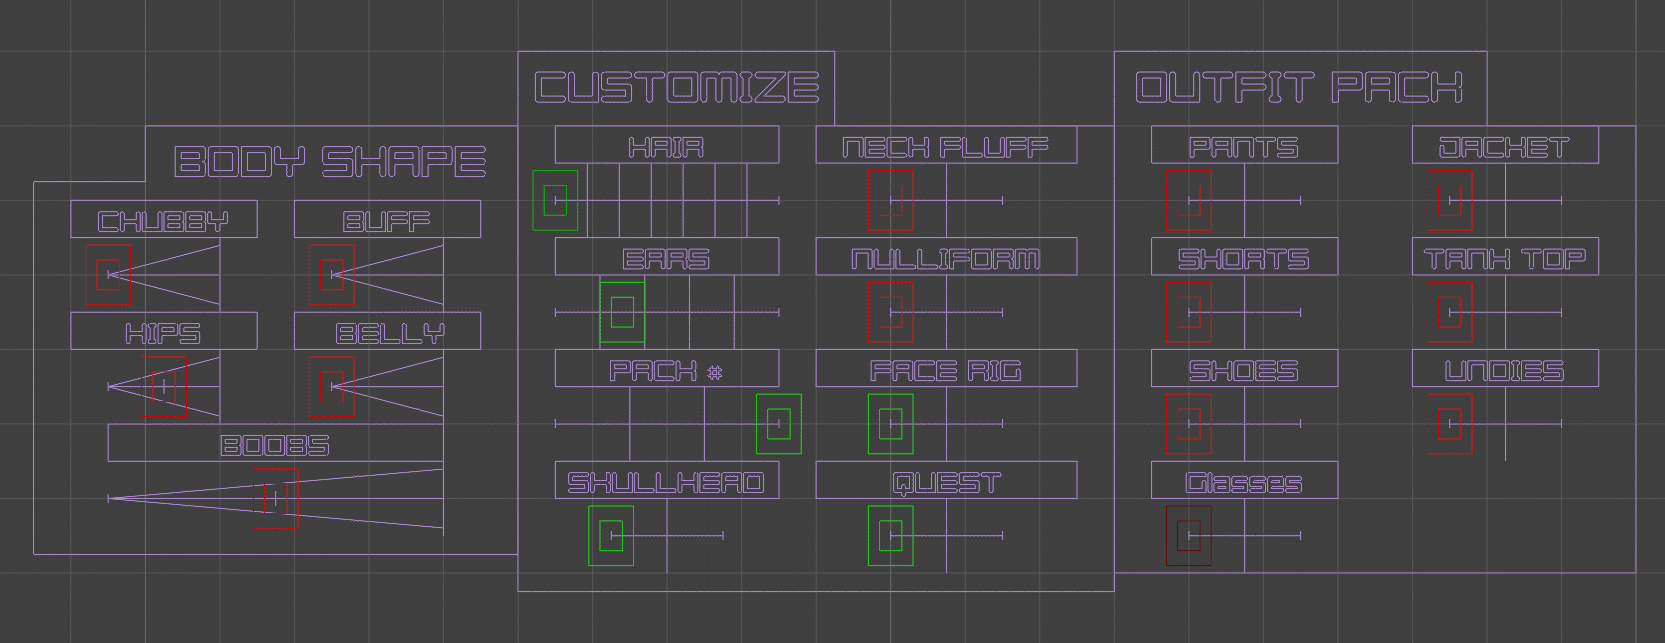
Once in pose mode, the menu should be a different color. The knobs can be selected using left-click.
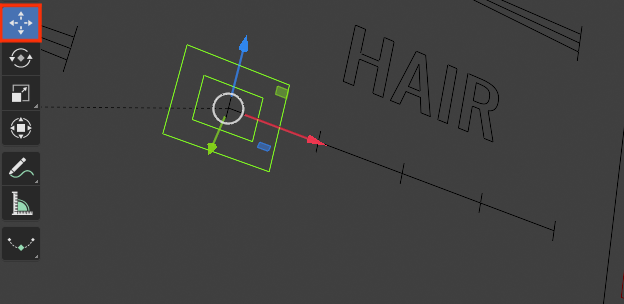
To move a knob, select it and use the move tool on the left and drag the red arrow, or press G with your mouse located in the viewport to move them. When using the G shortcut to move, press left click to confirm or right click to cancel.
You should be able to customize the avatar to your liking this way.
Danger
In most of my menus, green knobs are the only thing you need to change. The red knobs only exist to quickly test things on the model. ALL RED KNOBS SHOULD BE SET TO DEFAULT BEFORE EXPORTING.
If unsure what the default is, select the knob in pose mode and hit Alt+G to reset its position.
Warning
The face rig should generally only be used inside Blender and should be kept to “off” on export. The face rig is NOT NEEDED for face tracking or VRChat. The face tracking on this model uses blendshapes, not bones.
If you ever need more visual clarity, you can go to the Armature tab and show/hide certain bones.
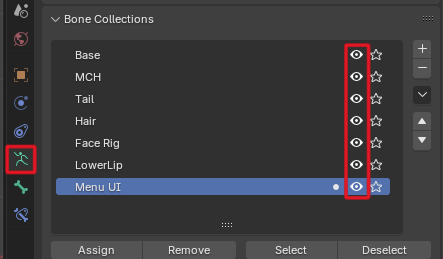
Note about drivers
Some users who used Blender before might notice the purple highlights on the viewport and render display, or even in the blendshapes. This is to show that it is being controlled by drivers. It will also prevent you from manually changing them, but that is not its main purpose! If you want to access certain things without having to deal with the customization menu, you can right click any purple icon and click “Delete driver” to regain manual control. There are many different things being affected by these drivers; including bone layer visibility, Shape keys, Mask modifiers and the “Deform” and “hide” value of bones. I would not recommend messing around with this unless you know what you are doing. In fact, you shouldn’t mess with them even if you THINK you know what you’re doing!
Note
The Blend file also sometimes contains the setup for the mesh used in the Substance Painter file. This is only there for folks who want to make more in-depth changes to the mesh, like custom horns or ears, without needing an entire new material for it.
Success
Each avatar has specific steps needed before exporting. You should move to their respective guide for the next step!